After following various restos on here over the years, Jon of doom, Alex b, Last triumph, Danregs etc, I have bitten the bullet and made a start on the third, count them, resto on my 69 bug...... only this time I want to do it properly!
Here it is.........
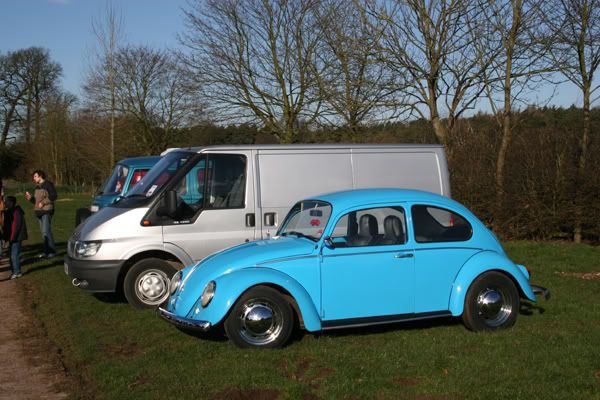
![Image]()
This shot was taken at bugfreeze 05.
Here it is.........
This shot was taken at bugfreeze 05.