First things first- i bought this at Vanfest 2010 for the princely sum of £200. no pictures or anything, all i knew really was that "the floor's good"- in fairness, the floor isn't bad. it's been off the road since 1992, although suprisingly is still registered.
Gotta be clear- this isn't going to be a show style restoration... but neither is it's going to be rat-look. with any luck it'll become a relatively straight, safe, drivable bus, possibly with a bong in and some snacks. the paintwork can come later.
anyway, here's the story of how i became a sad, lonely, hairy old man.
1. I decided to wear a hat. that is usually the way these things start, isn't it.
![Image]()
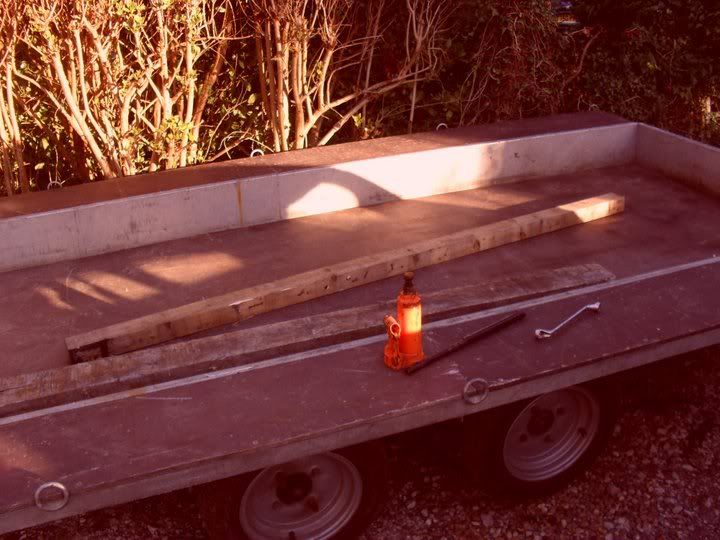
2.picked up a trailer-
![Image]()
3.And Hurray for roads, off from Worcester to south yorkshire, still having not seen the van.
![Image]()
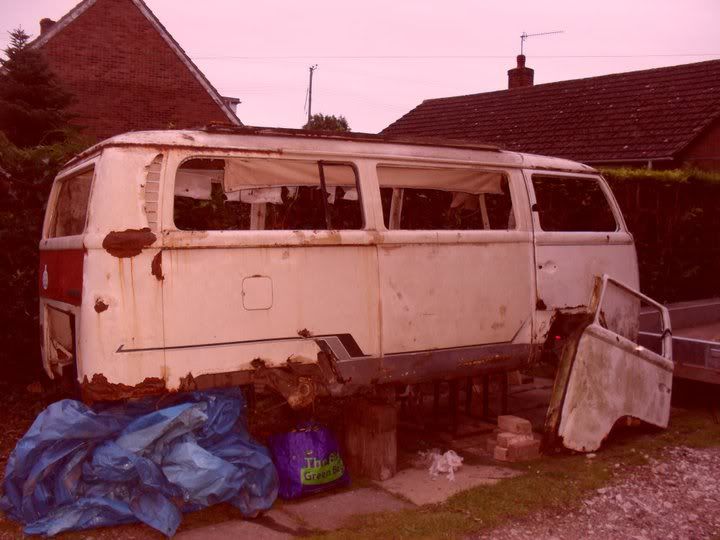
4....and here it is. no show winner, but it was £200, which is probably about right, and i'd driven for about three hours to get there.
![Image]()
5. it'd been living in an old mine for about 10 years, which i found kinda interesting (i'm a very dull person)
![Image]()
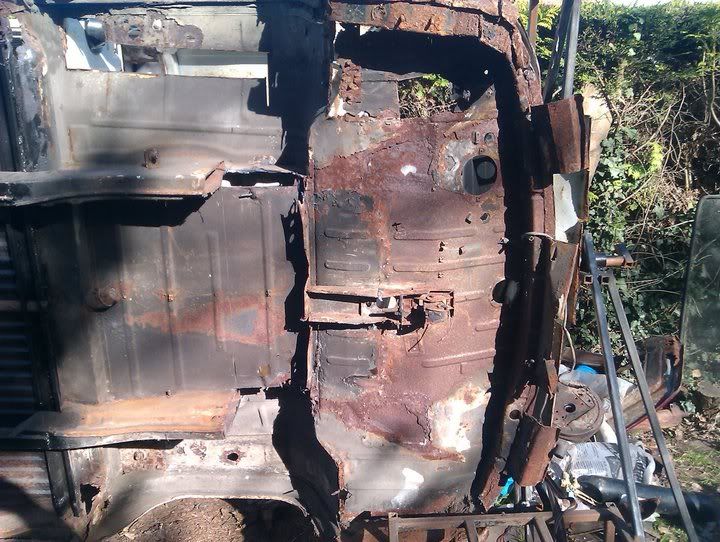
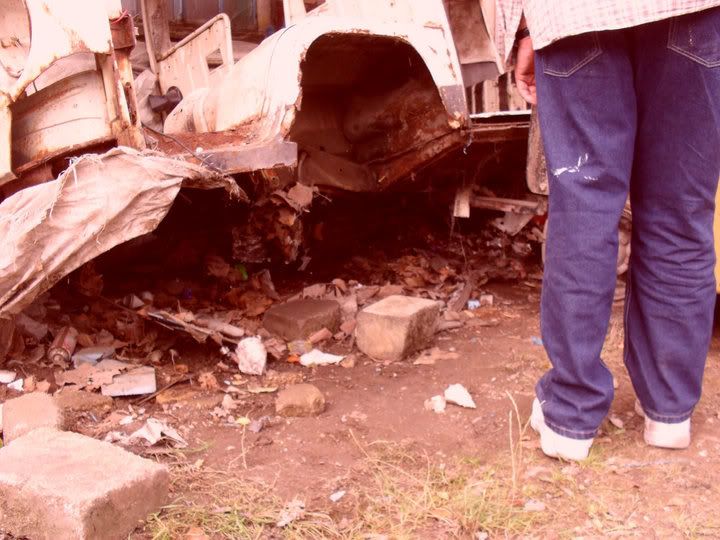
6. From this angle, the chassis looks ok. it's... not.
![Image]()
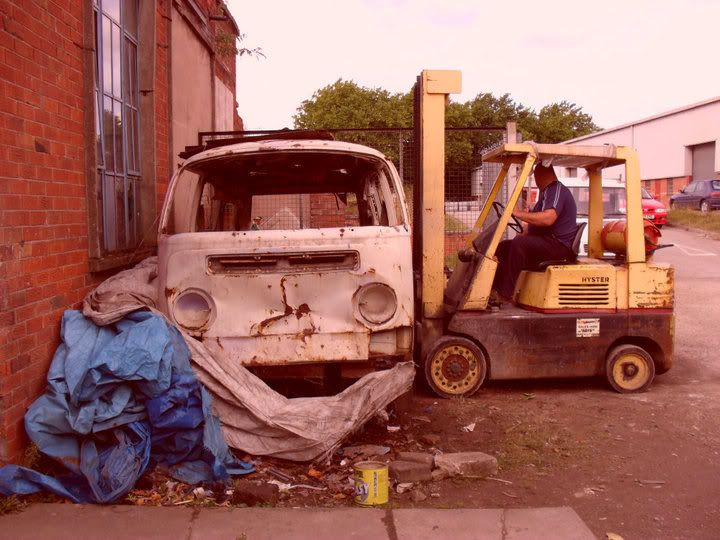
7. a large bald man on a forklift.
![Image]()
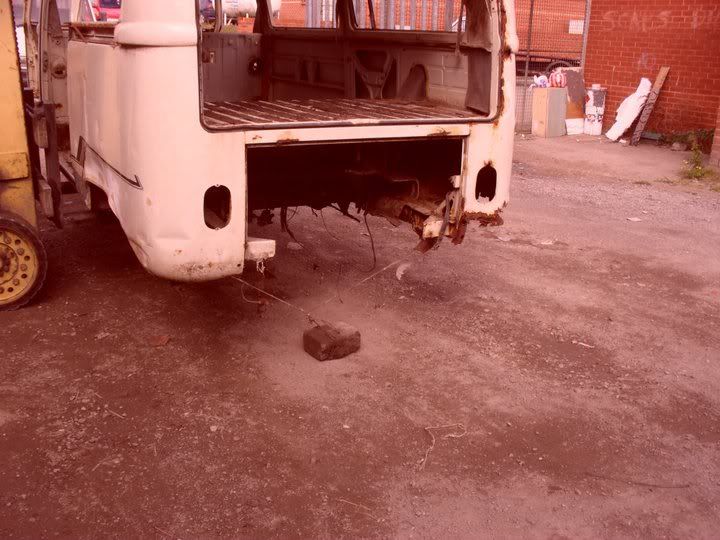
8. The anchor- as it'd gotten so rusty, it was necessary to weigh it down with a brick to stop it blowing away.
![Image]()
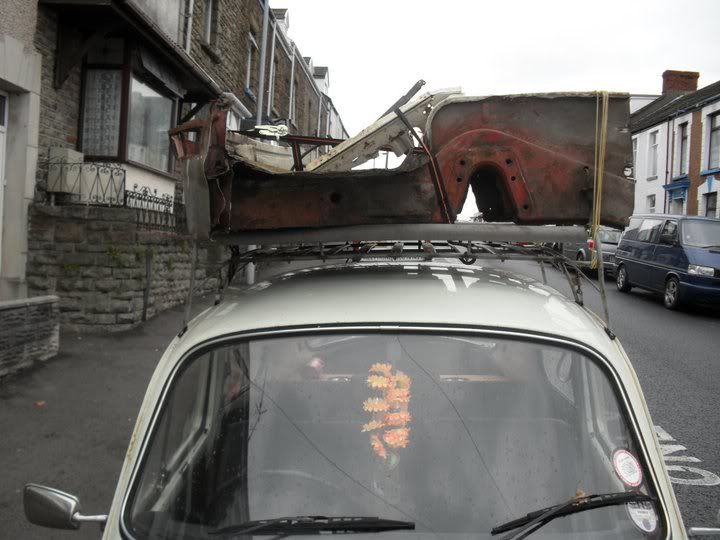
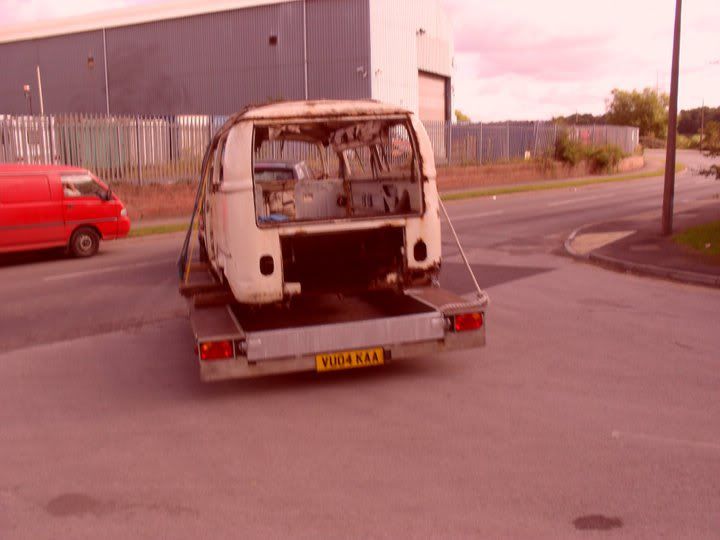
9.and we're off. i felt really sorry for the thing, and wanted to save it. maybe it was a bad move on my part, but nuts to it... how else am i going to afford an early bay!
![Image]()
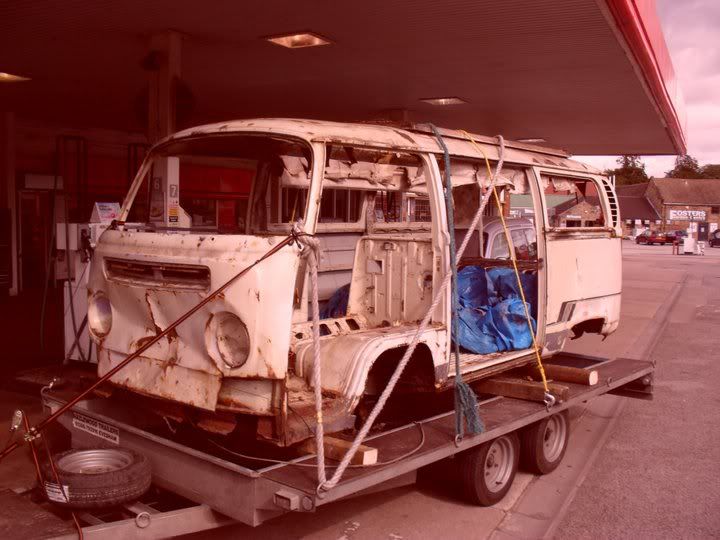
10. stopped to fill 'er up.
![Image]()
feel like i should mention tommyhove on here- who i popped by on the way home, and he gave me some doors, a front panel, a tailgate, and a co2 cylinder for nowt. good stuff.
Gotta be clear- this isn't going to be a show style restoration... but neither is it's going to be rat-look. with any luck it'll become a relatively straight, safe, drivable bus, possibly with a bong in and some snacks. the paintwork can come later.
anyway, here's the story of how i became a sad, lonely, hairy old man.
1. I decided to wear a hat. that is usually the way these things start, isn't it.

2.picked up a trailer-
3.And Hurray for roads, off from Worcester to south yorkshire, still having not seen the van.

4....and here it is. no show winner, but it was £200, which is probably about right, and i'd driven for about three hours to get there.
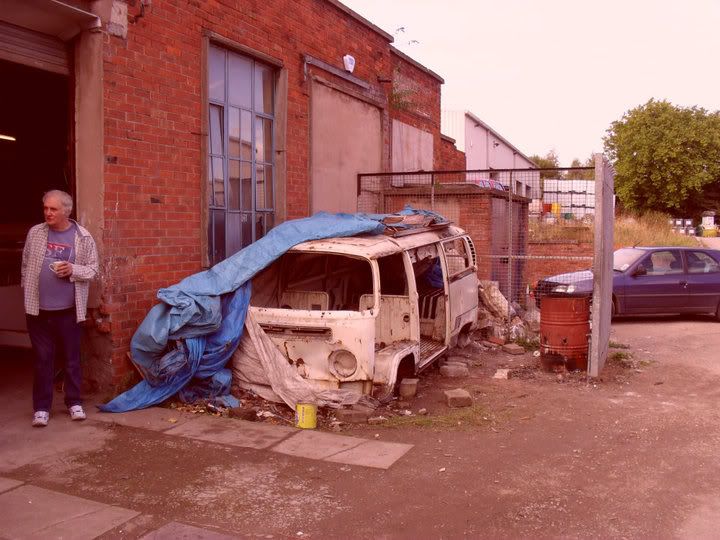
5. it'd been living in an old mine for about 10 years, which i found kinda interesting (i'm a very dull person)
6. From this angle, the chassis looks ok. it's... not.
7. a large bald man on a forklift.
8. The anchor- as it'd gotten so rusty, it was necessary to weigh it down with a brick to stop it blowing away.
9.and we're off. i felt really sorry for the thing, and wanted to save it. maybe it was a bad move on my part, but nuts to it... how else am i going to afford an early bay!
10. stopped to fill 'er up.
feel like i should mention tommyhove on here- who i popped by on the way home, and he gave me some doors, a front panel, a tailgate, and a co2 cylinder for nowt. good stuff.
 Bloody hell your one brave man thats not for the faint hearted but fair play to ya for saving her